Click & Grow
Smart Pod Simplicity — Can It Really Grow Tomatoes?
Click & Grow markets itself as the world's simplest smart garden, and for the most part, that's true. But can it grow real tomatoes? The answer is a qualified yes — with the right variety, technique, and realistic expectations. Here's everything we've learned from growing tomatoes in Click & Grow systems.
Best For
Complete beginners, small apartments, people who want absolute simplicity with minimal upkeep.
Learning Curve
Minimal
Maintenance
Very Low — 5–10 min/week
Cost Range
$60–$200 depending on model
What Is Click & Grow?
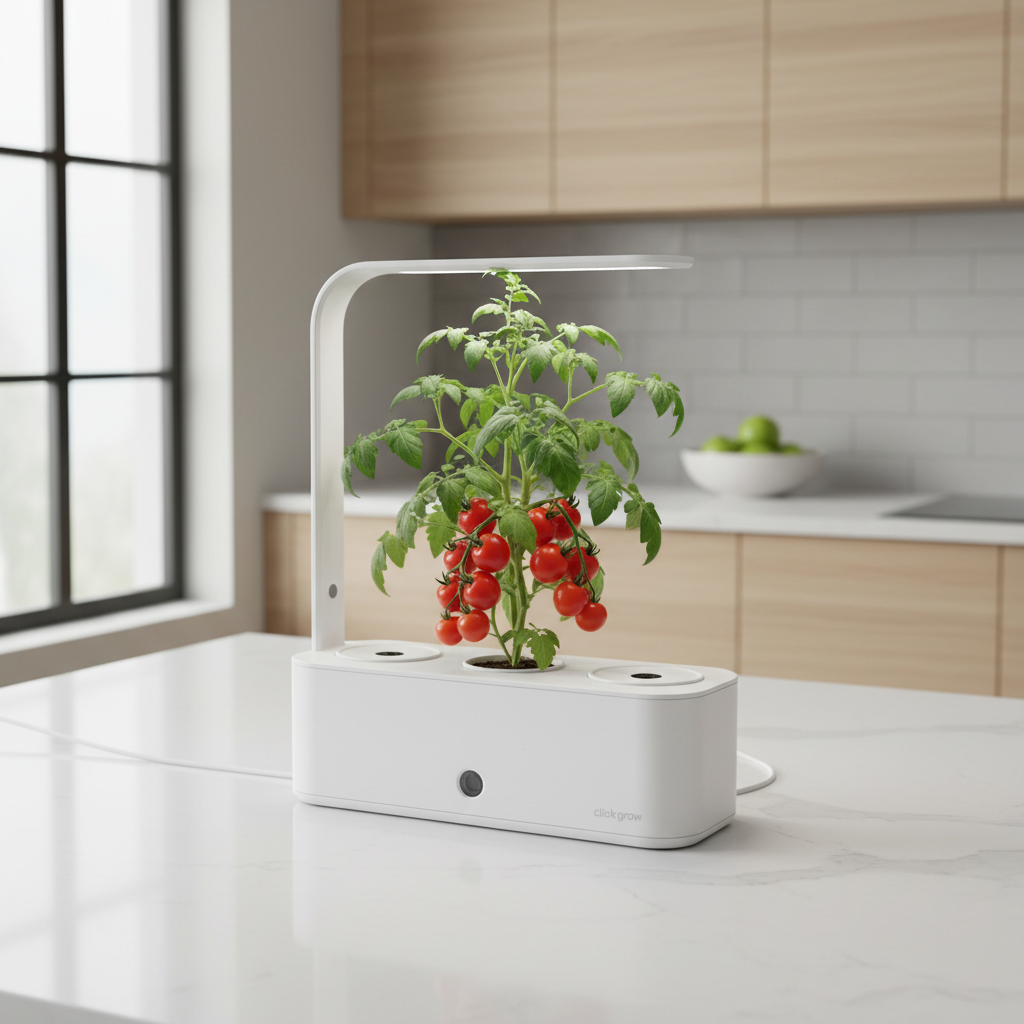
Click & Grow uses pre-seeded pods in a patented NASA-inspired 'smart soil' medium. Fill the reservoir, insert pods, plug in the light — that's genuinely it. The system wicks water from below and nutrients are embedded in the growing medium.
Pros
- Truly set-and-forget for the first few weeks
- Clean and minimal design
- No mixing nutrients
- Smart soil contains pre-balanced nutrients
- Very beginner friendly
- Great for apartments
Cons
- Smart soil nutrients run out — plants need supplementing after ~6 weeks
- Limited root space
- Built-in light is weak for fruiting tomatoes
- Pods are expensive vs. custom setups
- Very limited to compact varieties only
Can Click & Grow Actually Grow Tomatoes?
Yes, but you need to set expectations correctly. Click & Grow works best for mini and cherry tomato varieties. Don't expect full-size beefsteaks.
Best Varieties
- 🍅 Mini Tomato (Click & Grow official pod)
- 🍅 Red Robin
- 🍅 Tiny Tim
- 🍅 Micro Tom
- 🍅 Tumbling Tom
What to Expect
Compact cherry tomatoes will produce fruit reliably. Plants grow to 12–18 inches. Expect 20–50 small tomatoes per plant per season. The limiting factor is the light — for heavier yields, add supplemental lighting.
Limitations
The Click & Grow 3 is too small for tomatoes. Use the Click & Grow 9 or 25 minimum. Without supplemental light, fruit set can be disappointing. Nutrients in the pod run out after 6–8 weeks — after that, you need to add liquid tomato nutrients to the water.
Ready to get started with Click & Grow?
Check current pricing and availability on Amazon.
Complete Click & Grow Tomato Setup Guide
Light Setup
The built-in LED gives ~15W of light — good for germination and leafy growth, marginal for fruiting. Raise the arm to max height once flowering begins and consider adding a small LED panel overhead. Run lights for 16 hours daily.
Nutrient Supplementing
After 6–8 weeks, the smart soil nutrients are depleted. Add a diluted liquid tomato fertilizer to the water reservoir weekly. Use half-strength to avoid burning in the small root space.
Pollination
Same as AeroGarden — hand-pollination is essential. Gently shake plant or use an electric toothbrush on the flower stems when flowers are open. Do this daily for the best fruit set.
Pruning
Pinch out suckers weekly and remove any leaves that are touching the water reservoir. The Click & Grow 9 can support one tomato plant with aggressive pruning to keep it compact.
Support
The light arm structure can serve as a trellis. Gently tie branches to the arm using soft twine. Don't let plants lean heavily on the light housing.
Water
The wicking system is self-regulating to a degree, but check the reservoir every 3–4 days. Never let it run dry. In warm rooms, tomatoes drink 1–2 cups of water per day once established.
Common Click & Grow Tomato Problems (And How to Fix Them)
Plant grows tall but no fruit
Pollination issue. Hand-pollinate every day when flowers are open. Also ensure 16+ hours of light for proper fruit set.
Yellow leaves after 6–8 weeks
Smart soil nutrients are exhausted. Add liquid tomato fertilizer to the reservoir immediately.
Leggy, pale growth
Not enough light. Add a secondary LED panel above the system or increase light hours to 18.
Roots clogging reservoir
Trim roots that extend too far below the pod. This is normal in Click & Grow — a light root trim every few weeks keeps the system healthy.
Slow germination
Check water level — reservoir must be at MAX for germination. Keep in a warm location (68–75°F) until seedlings appear.
Need more help diagnosing your tomato plant?
Open Tomato Troubleshooter →Beginner Mistakes to Avoid
- Buying the Click & Grow 3 for tomatoes — it's too small. Use the 9 or 25.
- Relying solely on smart soil nutrients for the whole grow — they run out. Supplement after 6 weeks.
- Not hand-pollinating — the most common reason for flowers with no fruit.
- Planting multiple tomato pods in a small unit — one is enough. Tomatoes are space-hungry.
- Using full-strength liquid nutrients in a small reservoir — always dilute to half-strength.
Recommended Accessories
Liquid Tomato Fertilizer
Essential after 6–8 weeks when smart soil nutrients deplete. Use a diluted hydroponic tomato formula.
Small Clip-On LED Grow Light
The biggest upgrade you can make. A 20–30W clip-on LED above the system dramatically improves fruit production.
Soft Plant Ties or Tomato Clips
For supporting branches as they fill with fruit. Prevent breakage and keep plants tidy.
🍅 My Recommended Click & Grow Setup
If I was starting over today…
If I was starting with Click & Grow today, I'd get the 9-pod unit, plant one Mini Tomato pod in the center position, add a cheap 25W clip-on LED above it, and start adding diluted tomato nutrients to the reservoir at week 6. That simple setup produces tomatoes reliably with almost no effort.
Frequently Asked Questions
Ready to Start Growing?
Explore more beginner guides, troubleshooting help, and system comparisons to make sure your first indoor tomato harvest is a success.
As an Amazon Associate, we earn from qualifying purchases at no extra cost to you.