How To Grow Hydroponic Tomatoes: A Beginner's Complete Guide
Master soil-free tomato growing with this beginner-friendly guide to hydroponics. Learn about Kratky, DWC, and simple systems that produce incredible tomatoes.
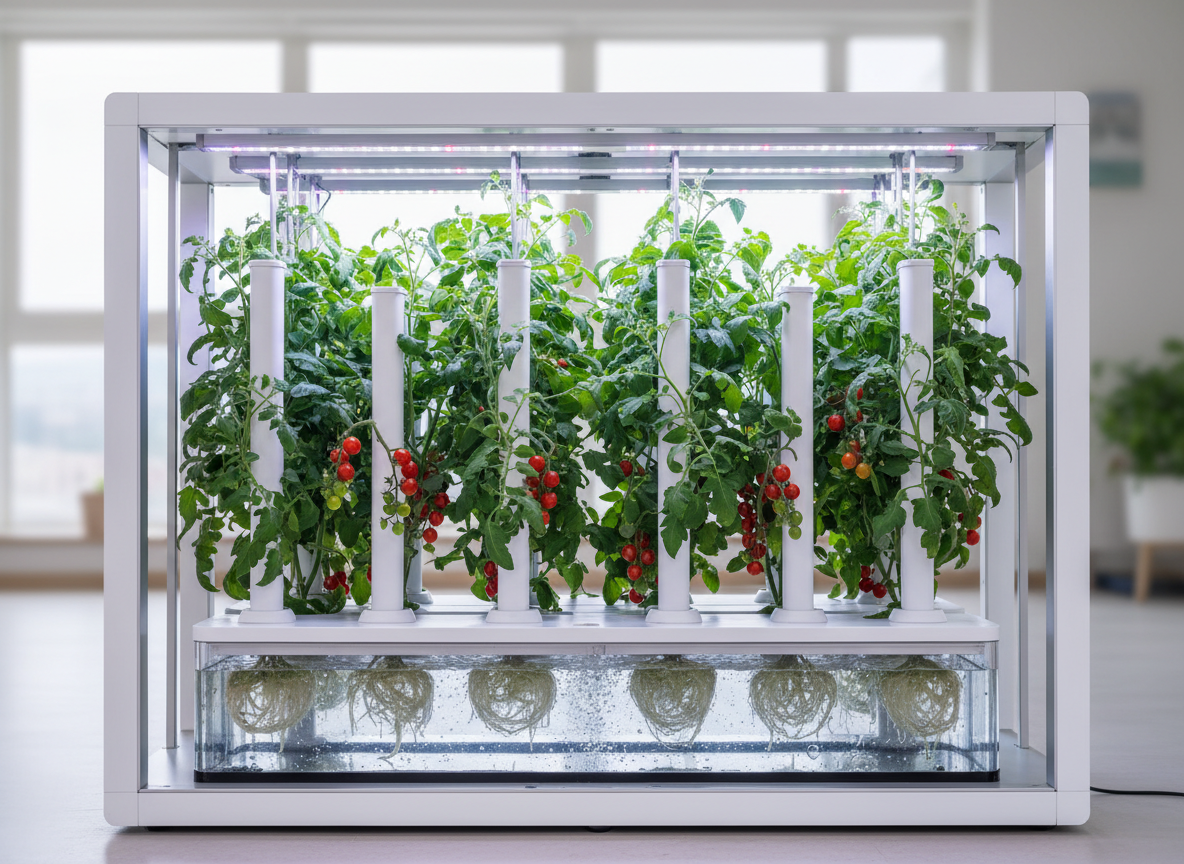
Imagine growing tomatoes without a single grain of soil. No weeds to pull, no soil-borne diseases, no guessing about nutrients. That's the promise of hydroponic growing — and for indoor tomatoes, it's a game-changer.
I was skeptical when I first tried hydroponics. It sounded too technical, too complicated, too expensive. But after my first Kratky jar produced cherry tomatoes faster and more abundantly than any soil setup I'd tried, I was converted.
This guide will walk you through everything you need to start growing hydroponic tomatoes, even if you've never heard of pH or nutrient solutions before.
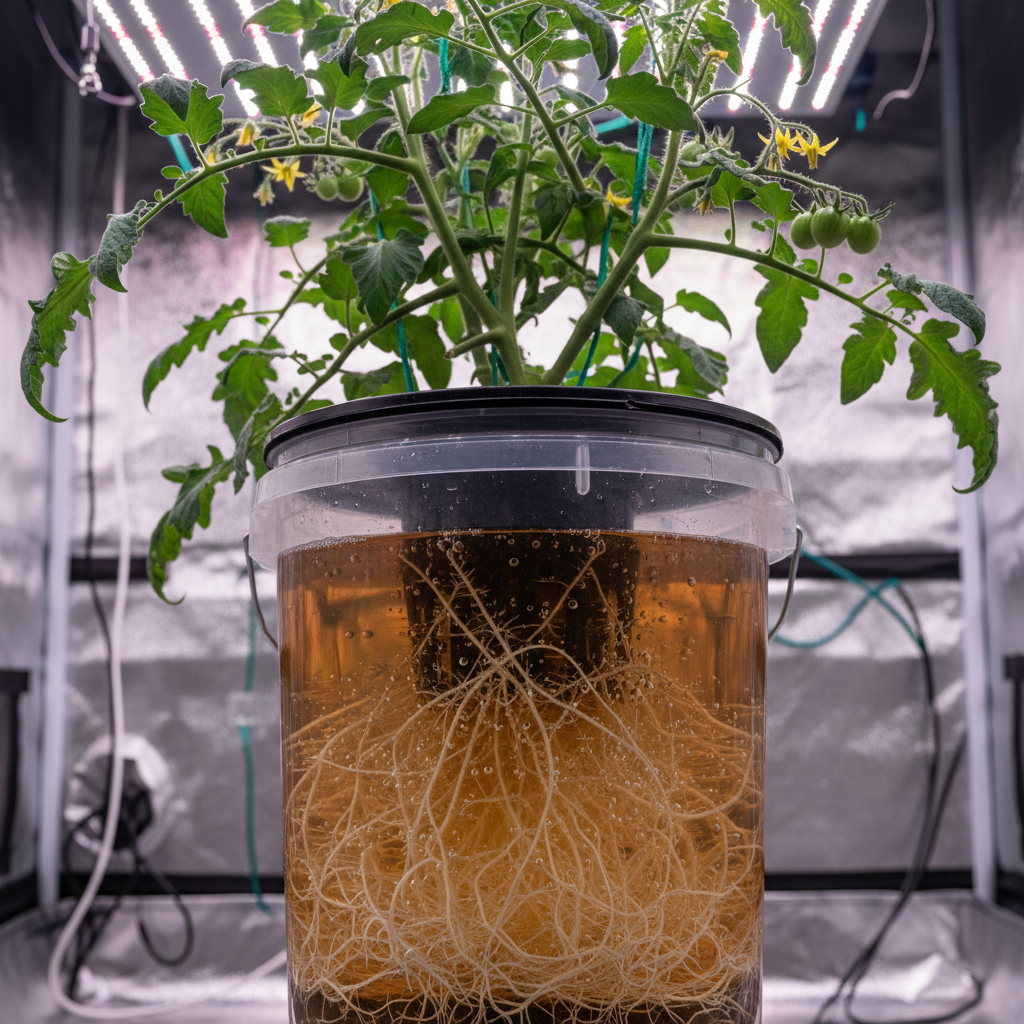
Tomato plant roots submerged in a DWC hydroponic bucket with healthy white roots
What Is Hydroponic Growing?
Hydroponics is simply growing plants in water with dissolved nutrients instead of soil. The roots sit in (or are periodically bathed in) a nutrient-rich solution that provides everything the plant needs.
Why does this work?
- Roots don't need soil — they need water, oxygen, and nutrients
- Soil is just a medium — it holds plants upright and delivers nutrients from organic matter
- Hydroponics skips the middleman — nutrients go directly to roots in an immediately available form
The result: faster growth, higher yields, and complete control over what your plants receive.
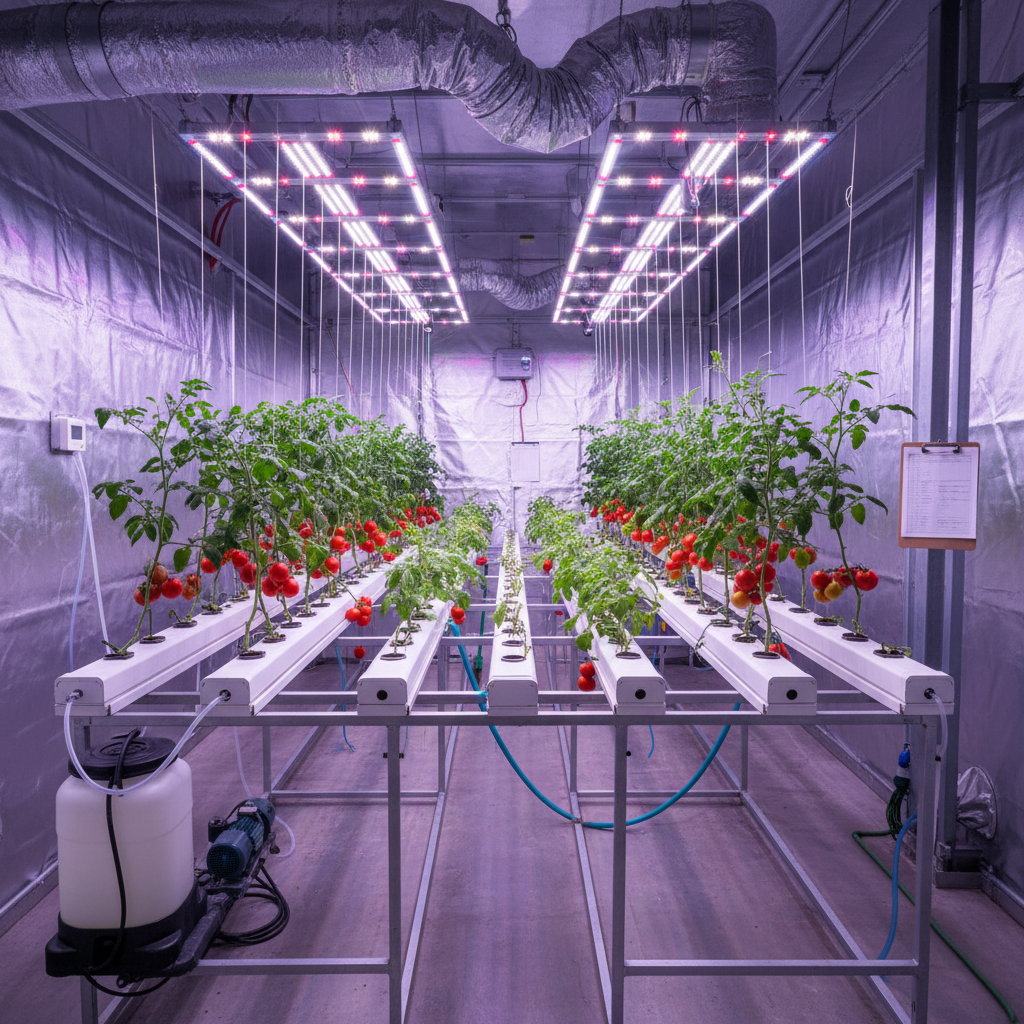
Complete NFT hydroponic system with tomato plants in white PVC channels under LED lights
The Best Hydroponic Systems for Tomatoes
There are many hydroponic methods, but for tomato beginners, three systems stand out:
1. The Kratky Method (Easiest)
Named after Dr. Bernard Kratky of the University of Hawaii, this is the simplest hydroponic system possible — and it's perfect for beginners.
How it works:
- Fill a container with nutrient solution
- Place the plant in a net pot with the roots touching the solution
- As the plant drinks, the water level drops
- The gap between the water surface and the net pot provides oxygen to upper roots
- That's it — no pumps, no electricity, no timers
Pros:
- Zero electricity cost
- No moving parts
- Set-it-and-mostly-forget-it
- Very cheap to set up
- Perfect for small-scale growing
Cons:
- Best for smaller varieties
- Limited to one plant per container
- Need to monitor water level
- Less oxygen than active systems
Best for: Beginners, apartment dwellers, small-scale growers, cherry tomato varieties.
2. Deep Water Culture — DWC (Most Popular)
DWC is the most popular hydroponic method for tomatoes. It uses an air pump to constantly oxygenate the nutrient solution.
How it works:
- Plant sits in a net pot above a reservoir of nutrient solution
- Roots grow down into the solution
- An air pump and airstone bubble oxygen into the water continuously
- Roots get unlimited water, nutrients, AND oxygen
Pros:
- Very fast growth (often 20-30% faster than soil)
- Higher yields than passive methods
- Roots stay fully oxygenated
- Relatively simple setup
Cons:
- Requires electricity (air pump)
- Slightly more complex than Kratky
- Need to monitor water temperature
- Air pump failure can damage plants quickly
Best for: Intermediate growers, anyone wanting maximum yield, larger varieties.
3. All-in-One Systems (Most Convenient)
Products like AeroGarden, Rise Gardens, and similar systems are complete hydroponic kits that include everything — lights, nutrients, growing medium, and the system itself.
Pros:
- No setup complexity
- Integrated lighting
- Built-in reminders for nutrients and water
- Looks clean and modern
- Great for kitchens and living spaces
Cons:
- More expensive upfront ($80-300+)
- Limited plant capacity
- Proprietary pods can be pricey
- Less flexibility in plant choice
Best for: Complete beginners who want plug-and-play simplicity, gift giving.
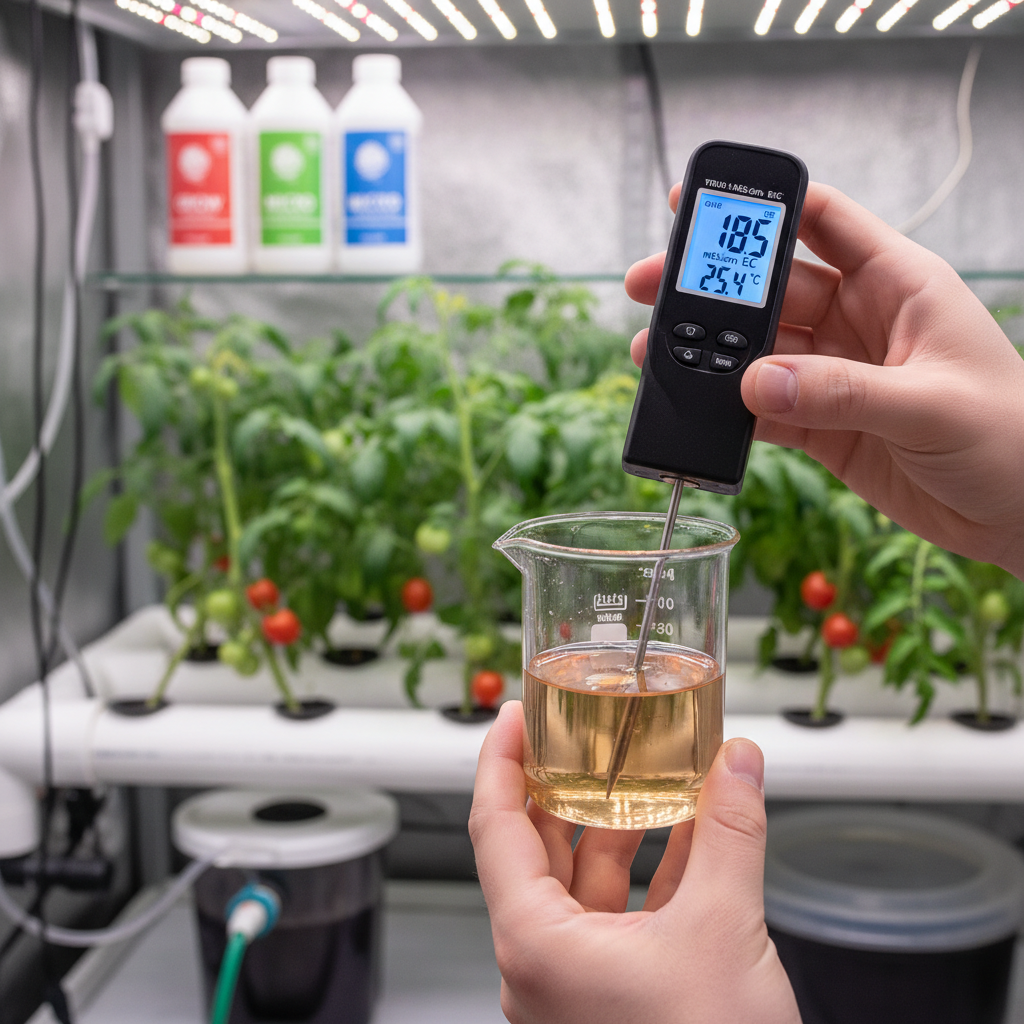
Measuring EC of hydroponic nutrient solution with a digital pen meter
Getting Started: Building a Simple Kratky System
Let's build your first hydroponic setup. This Kratky system takes about 15 minutes to assemble.
What You Need
- A container — 1-5 gallon opaque container (light promotes algae). A black 5-gallon bucket works perfectly.
- Net pot — 3-inch net pot that fits in the container lid
- Growing medium — Clay pebbles (hydroton) or rockwool
- Hydroponic nutrients — A two-part or three-part nutrient system (like General Hydroponics Flora Series)
- pH testing kit — pH test drops or digital meter
- pH adjusters — pH up and pH down solutions
- Tomato seedling — Started in a rockwool cube or transplanted from soil
Assembly Steps
Step 1: Prepare the container
- If using a bucket, drill or cut a hole in the lid to fit your net pot snugly
- If using a mason jar, use a wide-mouth jar with a net pot that fits the opening
- Make sure the container is opaque (wrap clear containers in tape or foil)
Step 2: Mix your nutrient solution
- Fill the container with water (let tap water sit 24 hours to dechlorinate, or use filtered water)
- Add nutrients according to package directions
- Adjust pH to 5.5-6.5 (ideal for tomatoes in hydroponics)
- Mix thoroughly
Step 3: Place the plant
- Fill the net pot with clay pebbles
- Nestle your seedling into the pebbles, ensuring the stem is supported
- The bottom of the net pot should sit about 1 inch into the nutrient solution
- Roots should touch or nearly touch the water
Step 4: Set and monitor
- Place under grow lights (14-16 hours daily)
- Check water level weekly
- Top off with fresh nutrient solution as needed
- Check pH bi-weekly
That's it. Your first hydroponic tomato system is running.
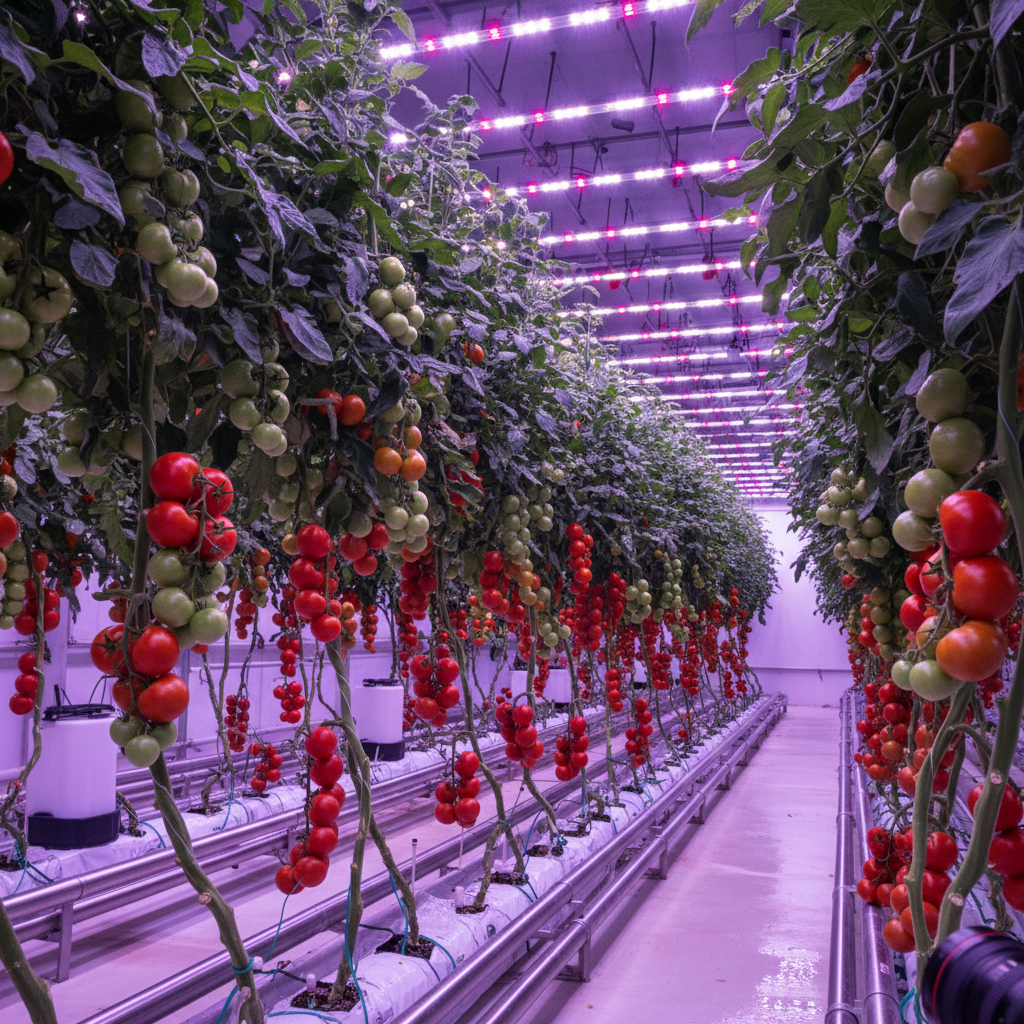
Hydroponic tomato plants with large trusses of green and red tomatoes under LED lights
Understanding Hydroponic Nutrients
This is the part that scares most beginners, but it's actually straightforward.
The Essential Nutrients
Tomatoes need 17 elements to grow. The "big three" macronutrients are:
- Nitrogen (N) — Leaf and stem growth
- Phosphorus (P) — Root development and flowering
- Potassium (K) — Fruit development and overall health
Plus secondary nutrients (calcium, magnesium, sulfur) and micronutrients (iron, manganese, zinc, etc.).
Choosing a Nutrient System
For beginners, we recommend starting with one of these:
General Hydroponics Flora Series (3-part)
- FloraGro, FloraMicro, FloraBloom
- Most popular nutrient system worldwide
- Highly customizable ratios for each growth stage
- Excellent for tomatoes
General Hydroponics MaxiGro/MaxiBloom (2-part)
- Simpler powder form
- Mix MaxiGro during vegetative growth
- Switch to MaxiBloom during flowering/fruiting
- Great for beginners who want simplicity
Nutrient Mixing Basics
- Always add nutrients to water, not water to nutrients
- Mix each part separately (don't combine concentrated nutrients)
- Follow package directions for the "general purpose" or "tomato" recipe
- Adjust pH after mixing nutrients
- Target EC (electrical conductivity) of 2.0-3.0 for mature tomatoes
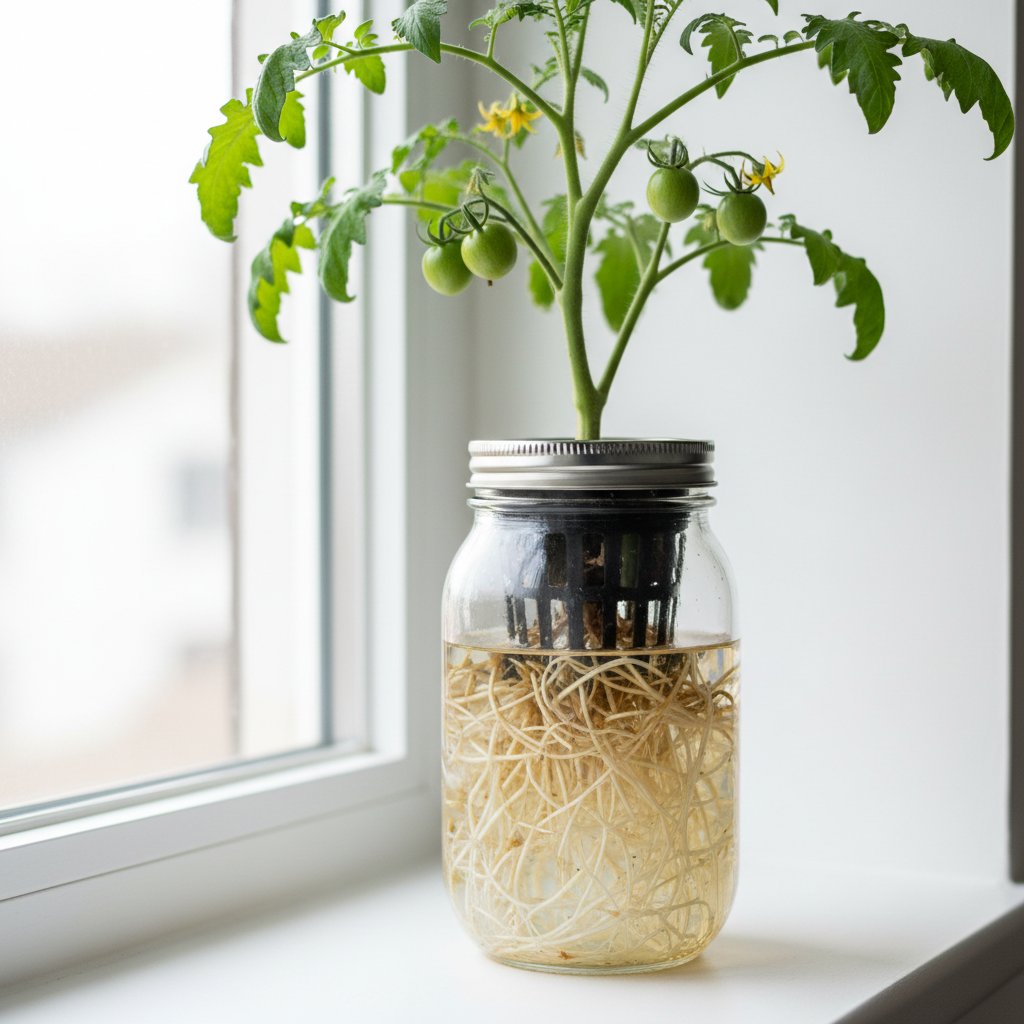
Kratky method hydroponic tomato in a mason jar with visible roots on a windowsill
pH: The Most Important Number
PH measures how acidic or alkaline your nutrient solution is. It determines which nutrients your plant can actually absorb.
- Ideal pH for hydroponic tomatoes: 5.5-6.5
- Most tap water: 7.0-8.0 (too alkaline)
- After adding nutrients: Usually drops to 6.0-7.0
If pH is too high or too low, your plant can't absorb certain nutrients even if they're in the solution. This is called "nutrient lockout" and it's the number one cause of hydroponic problems.
How to adjust pH:
- Too high? Add a few drops of pH Down (phosphoric acid)
- Too low? Add a few drops of pH Up (potassium hydroxide)
- Check and adjust after mixing nutrients
- Re-check weekly
A simple pH test kit with drops costs about $8 and is an absolute must-have.
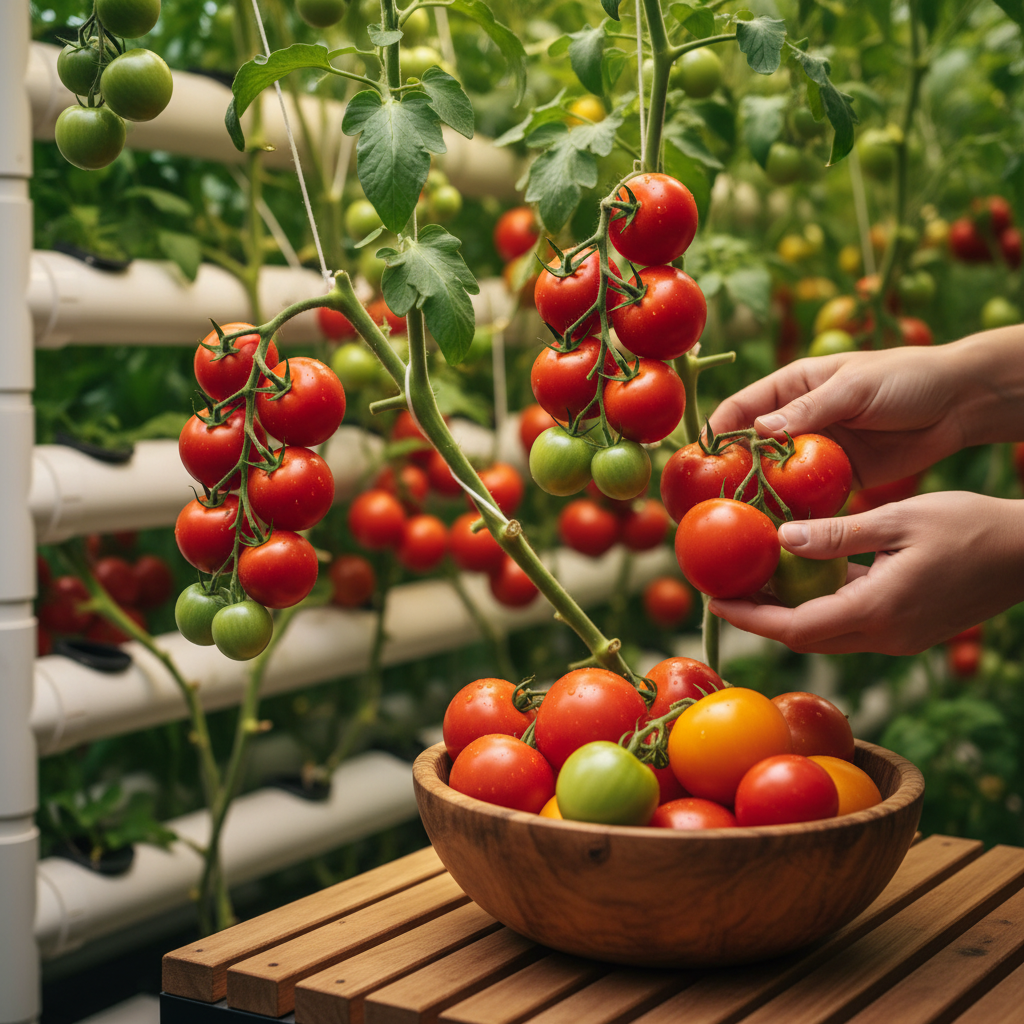
Ripe tomatoes harvested from a hydroponic indoor garden into a wooden bowl
Lighting for Hydroponic Tomatoes
Hydroponic tomatoes need the same lighting as any indoor tomato:
- Full-spectrum LED grow lights — The gold standard
- 14-16 hours during vegetative growth
- 12-14 hours during flowering and fruiting
- 6-12 inches above plant tops
- Minimum 2,000 lumens for a small setup
The advantage of hydroponic growing is that faster growth means your plants reach the flowering stage sooner, potentially saving on electricity costs compared to soil growing.
Managing Your Hydroponic System
Weekly Maintenance
- Check water level — Top off as needed with fresh nutrient solution
- Check pH — Adjust if outside 5.5-6.5 range
- Inspect roots — Healthy roots are white; brown/slimy roots indicate problems
- Monitor plant health — Yellow leaves, slow growth, or wilting signals issues
Monthly Maintenance
- Complete solution change — Drain and replace the entire nutrient solution monthly
- Clean the container — Wipe away any algae or mineral deposits
- Check equipment — If using DWC, ensure air pump and airstone are working
- Trim roots — If roots become overly dense, trim the bottom third
Water Temperature
Keep nutrient solution between 65-75°F (18-24°C). Warm water holds less dissolved oxygen, which can suffocate roots. If your water temperature runs high:
- Use a larger reservoir (more thermal mass)
- Keep the reservoir out of direct light
- Consider a small aquarium chiller for serious setups
Common Hydroponic Tomato Problems
Brown, Slimy Roots (Root Rot)
Cause: Insufficient oxygen, warm water, or pathogens Fix: Increase aeration (add/upgrade air pump), lower water temp, add beneficial bacteria
Nutrient Deficiency Symptoms
- Yellow lower leaves: Nitrogen deficiency — increase N in solution
- Purple stems: Phosphorus deficiency — increase P
- Brown leaf edges: Potassium deficiency — increase K
- Blossom end rot: Calcium deficiency — add calcium supplement
Algae Growth
Cause: Light reaching the nutrient solution Fix: Ensure container is completely opaque, cover any gaps where light enters
pH Fluctuations
Cause: Normal as plants absorb nutrients at different rates Fix: Check and adjust pH twice weekly, perform monthly solution changes
Recommended Products for Hydroponic Tomato Growing
Based on our testing, here are our top recommendations:
- Hydroponic Nutrient Kit — A complete 3-part nutrient system designed for fruiting plants
- pH Testing Kit — Essential for maintaining proper nutrient absorption
- Air Pump and Airstone — For DWC setups, proper oxygenation doubles growth speed
- LED Grow Light — Full-spectrum light drives photosynthesis for maximum fruit production
- Net Pots and Clay Pebbles — The growing medium that supports your plants in any hydroponic system
Kratky vs. DWC: Which Should You Choose?
| Factor | Kratky | DWC | |--------|--------|-----| | Complexity | Very easy | Easy-moderate | | Cost | Very low ($10-20) | Low-moderate ($30-60) | | Electricity | None | Air pump required | | Growth speed | Good | Excellent | | Yield | Good | Very good | | Maintenance | Weekly check | Bi-weekly check | | Best varieties | Cherry, compact | Any size | | Noise | Silent | Slight pump hum |
Our recommendation: Start with Kratky for your first plant. Once you're comfortable with nutrients and pH management, try a DWC system for your second plant. The skills transfer directly.
Your First 30 Days: A Hydroponic Tomato Timeline
Day 1: Set up system, transplant seedling or place sprouted seed Day 3-5: Roots begin growing into nutrient solution Day 7: Check pH and water level, top off if needed Day 14: Noticeable growth, roots expanding quickly Day 21: Plant showing vigorous vegetative growth Day 28: First system maintenance — check nutrients, clean, adjust Day 30: Your plant should be significantly larger than a soil-grown equivalent
Moving Forward
Hydroponic tomato growing opens up a world of possibilities. Once you master the basics, you can:
- Scale up to multiple plants
- Experiment with different varieties
- Try more advanced systems (NFT, ebb and flow)
- Grow other hydroponic crops (lettuce, herbs, peppers)
But for now, start simple. One Kratky jar. One cherry tomato plant. Master the fundamentals, and the rest follows naturally.
Ready for more? Learn about the biology of tomato growth to understand exactly what's happening inside your plant, or check our guide on when to do everything for perfect timing.
Recommended Products
Looking for products we personally recommend? See our complete list of trusted tools and supplies to help you grow better tomatoes.
Browse Recommended ProductsFrequently Asked Questions
Written by
Sweet Tomatos Team
We're a team of passionate indoor gardeners dedicated to helping beginners grow amazing tomatoes at home. With years of hands-on experience in hydroponics and indoor growing, we share what actually works.